Just for fun... How to create a levitation image in Photoshop
Introduction
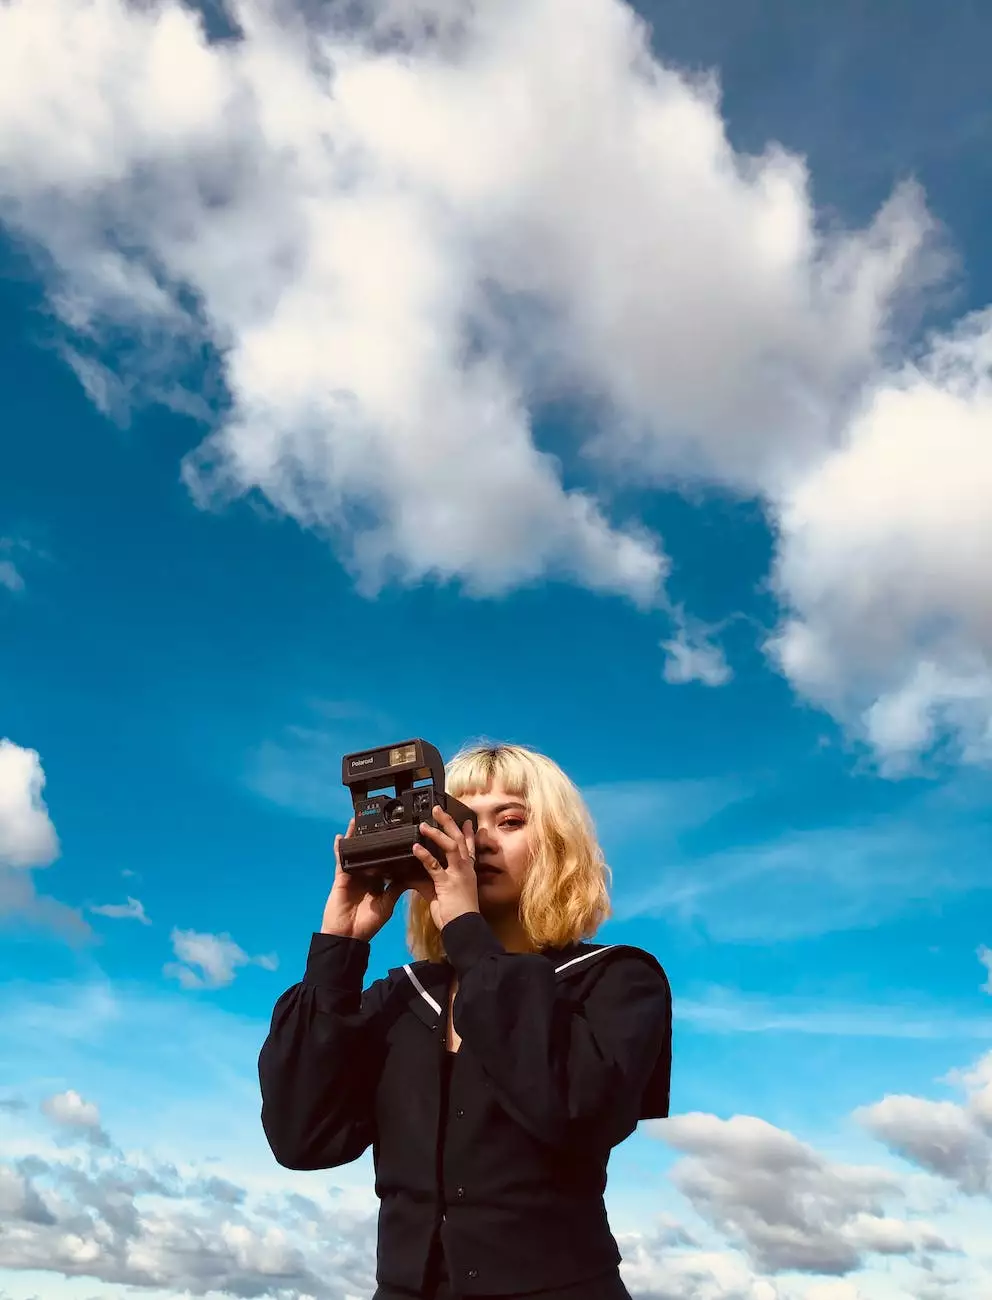
Welcome to Maurice Gardner Photography's comprehensive guide on creating a levitation image in Photoshop. In this tutorial, we will take you through the process of transforming an ordinary photograph into a captivating visual artwork that defies gravity. Levitation photography has gained popularity in recent years, and with our step-by-step instructions and useful tips, you'll be able to master this creative technique on your own.
Why Create a Levitation Image?
Levitation images add a touch of magic and mystery to your visual art. By defying the laws of gravity, you can create compelling and dreamlike scenes that capture the viewer's imagination. Levitation photography has been embraced by photographers and artists around the world, and with the advancements in digital editing tools like Photoshop, it has become more accessible than ever before.
Getting Started
Before diving into the creation process, you'll need a few essentials:
- A camera: Any modern digital camera will do the trick.
- A tripod: This will help stabilize your camera and eliminate any unwanted motion blur.
- Adobe Photoshop: The industry-standard photo editing software.
Step-by-Step Guide
Step 1: Plan Your Concept
Start by brainstorming and visualizing the levitation concept you want to bring to life. Consider the subject, the environment, and the overall mood you wish to convey. This will guide your choices during the entire process.
Step 2: Set Up Your Shoot
Choose a suitable location with adequate lighting. Ensure that your camera is securely mounted on a tripod to maintain consistency throughout the multiple exposures. Set your camera to manual mode, and adjust the exposure settings based on the lighting conditions.
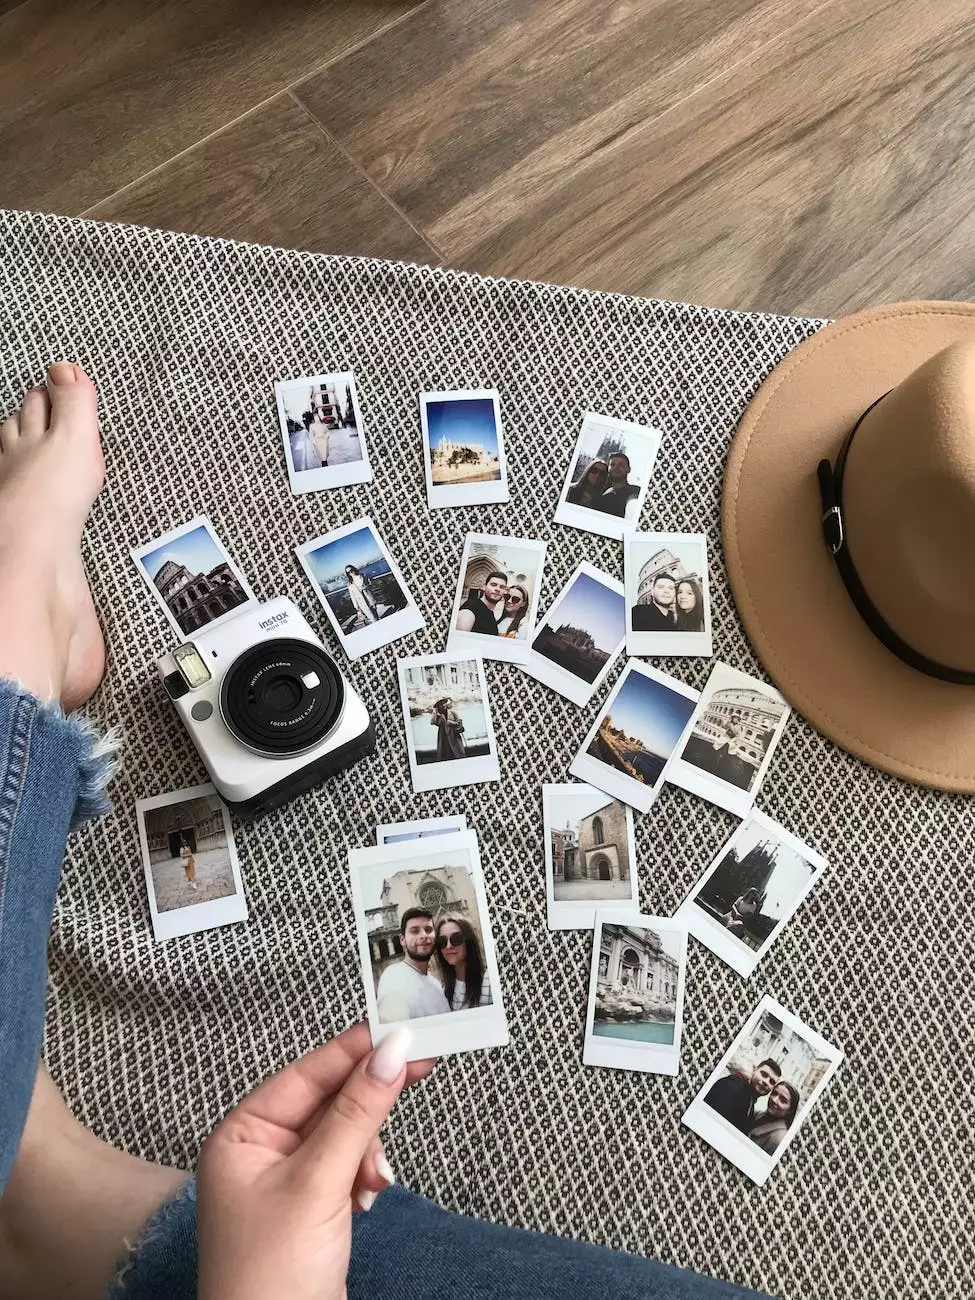
Step 3: Capture Your Shots
Position your subject and take a series of shots while they remain in the same desired position. Experiment with different angles and perspectives to add depth and visual interest to your levitation image.
Step 4: Select and Import Images
Transfer the captured images onto your computer and import them into Adobe Photoshop. Choose the images you want to blend together to create the levitation effect. Make sure the images have a consistent lighting and color tone for a seamless final result.
Step 5: Masking and Layering
Use Photoshop's masking tools to remove the background from each image and isolate your subject. Create separate layers for each image and stack them on top of each other. Ensure proper alignment and adjust opacity as needed to create a believable floating effect.
Step 6: Fine-Tune and Enhance
Refine the details of your levitation image by adjusting levels, colors, and shadows. Add additional elements or effects to enhance the overall composition. Experiment with Photoshop's tools and filters to unleash your creativity and bring your vision to life.
Tips and Tricks
Here are some useful tips to elevate your levitation image creation:
- Pay attention to lighting: Ensure that the lighting in each captured image matches for a natural-looking result.
- Experiment with props: Introduce objects or fabrics that add movement and enhance the illusion of levitation.
- Practice patience: Creating a stunning levitation image may require several attempts. Don't get discouraged, and keep experimenting.
With these step-by-step instructions and expert tips, you are well on your way to creating breathtaking levitation images using Photoshop. Unlock your imagination, unleash your creativity, and let Maurice Gardner Photography guide you through this fantastic photographic journey. Get ready to elevate your visual art to new heights!